The Best Way to Prepare Game
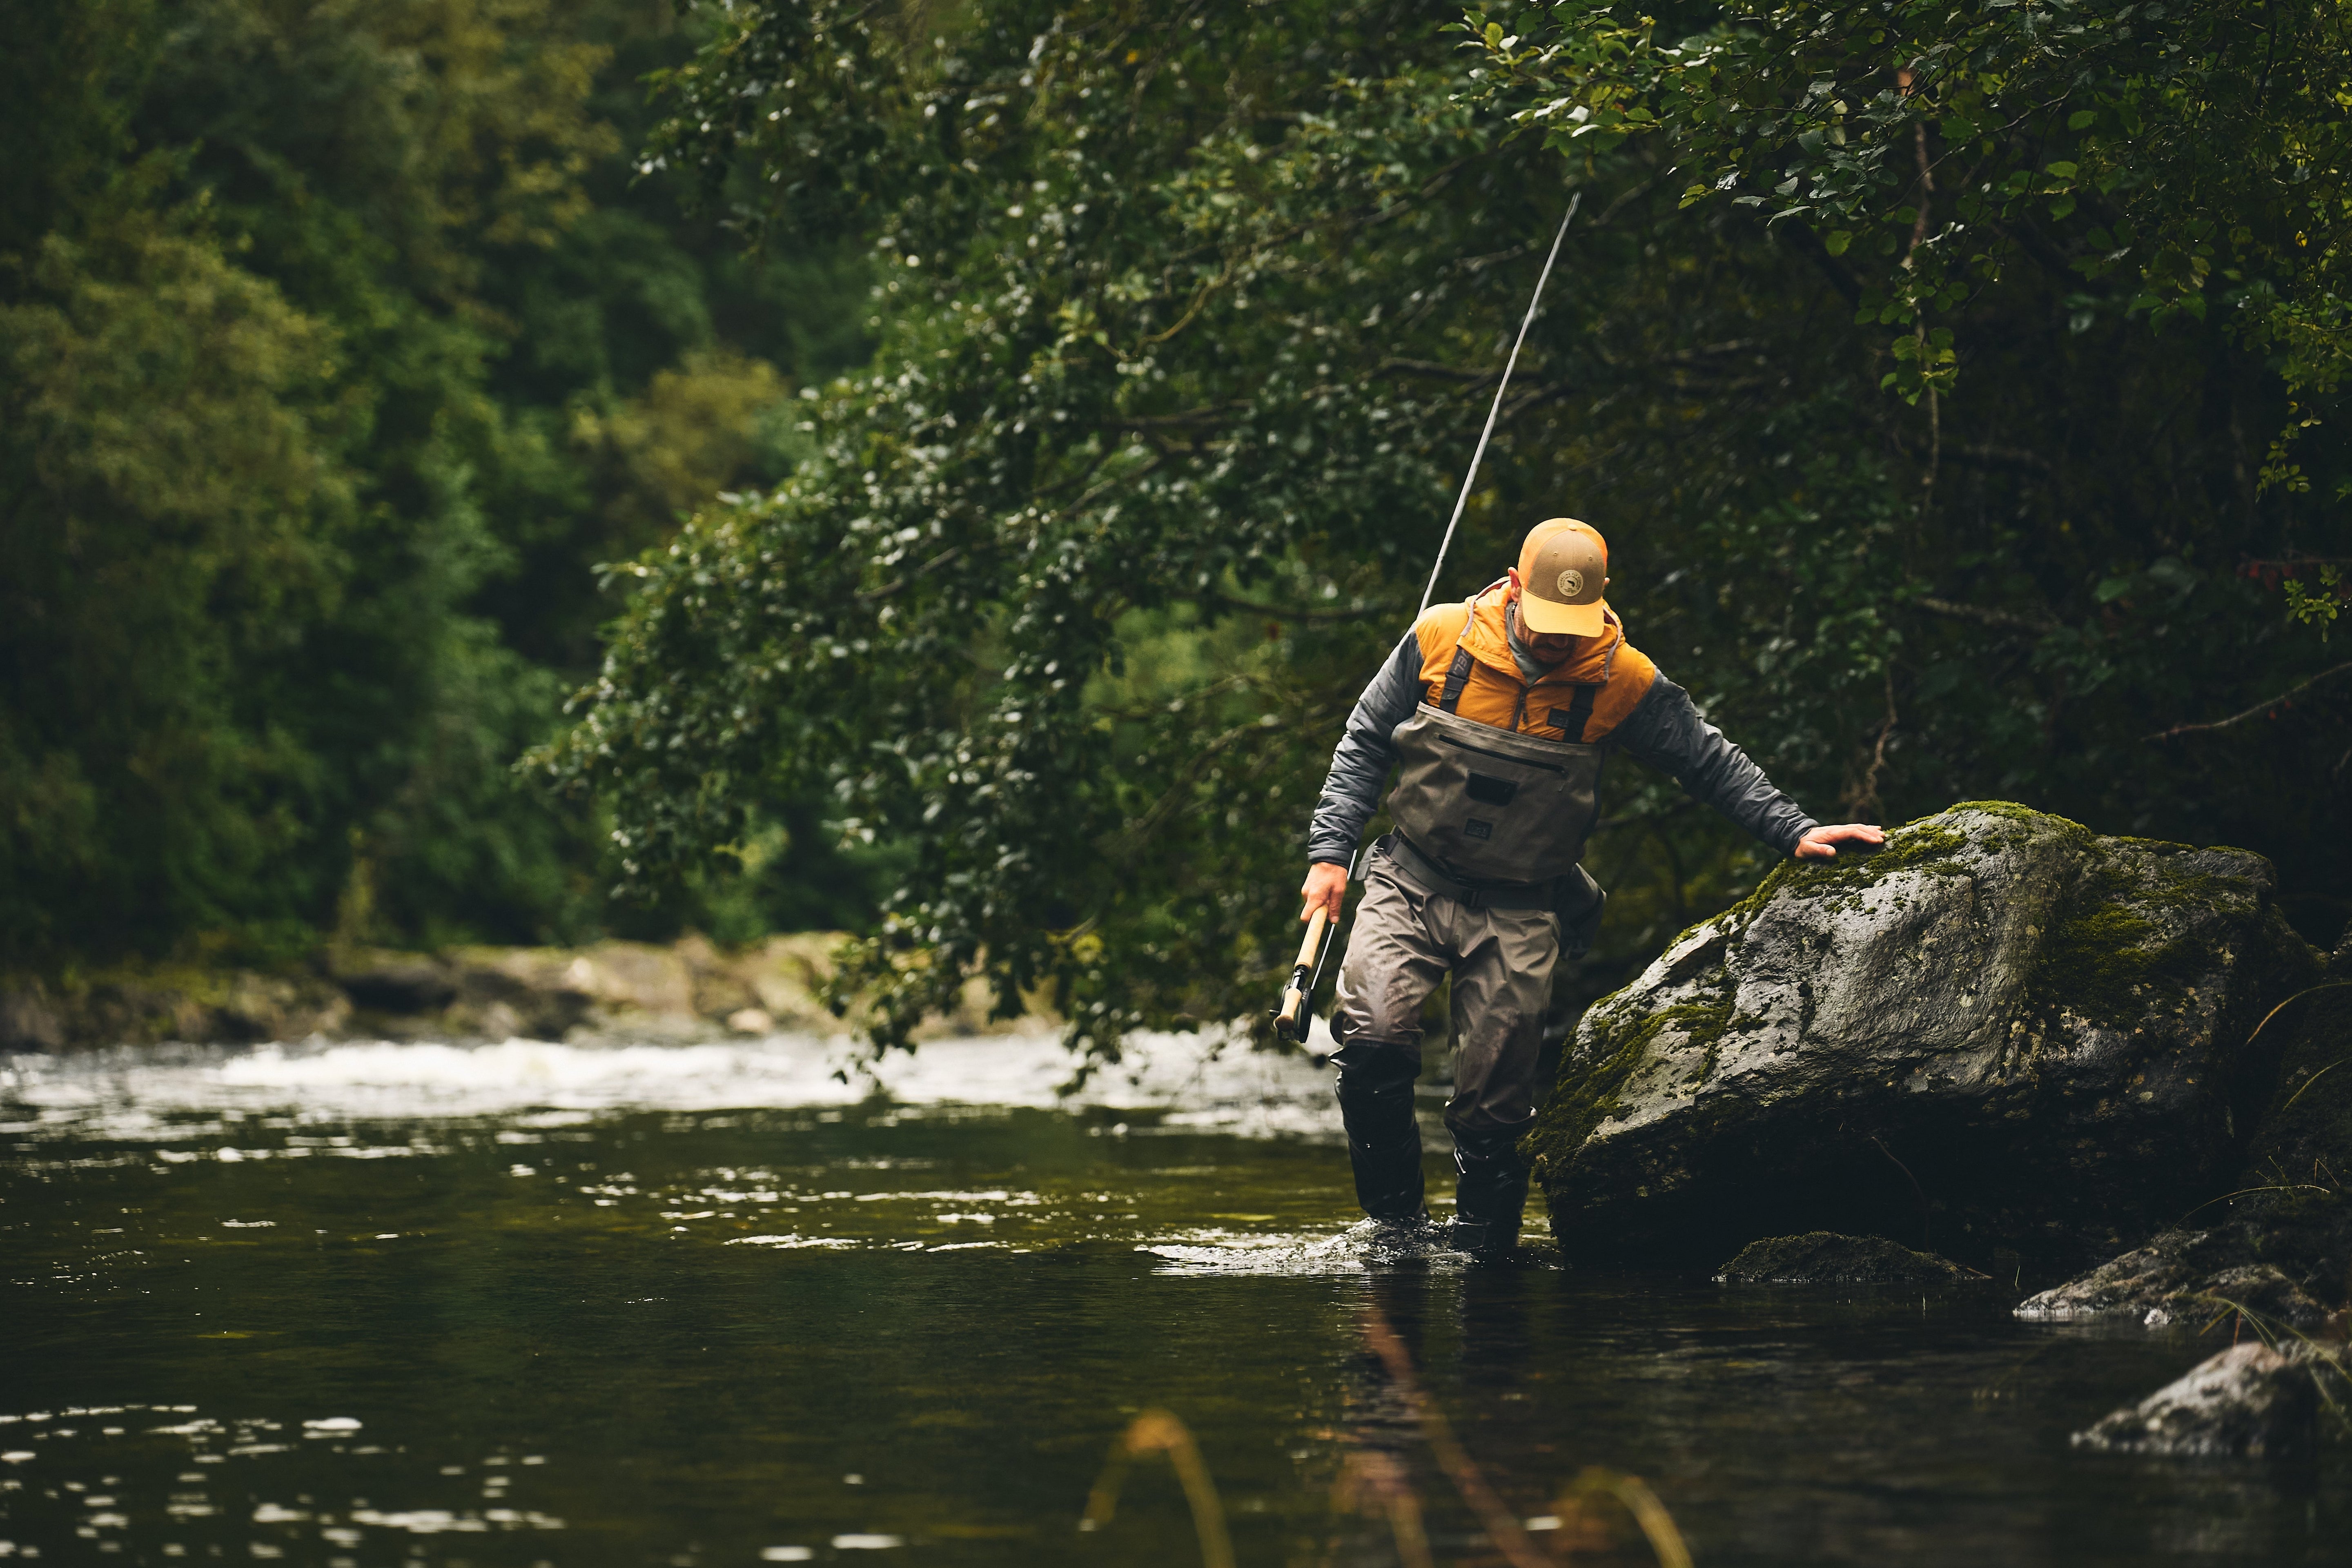
The versatility and naturally flavoursome qualities of game make it a firm favourite with any food fanatic. Catching your kill and then preparing and cooking it is a simple, earthy pleasure that brings a lot of enjoyment. To make this process easy to understand we’ve bought together the best ways to prepare game. It essentially boils down to 4 simple processes; hanging, skinning, plucking and drawing.
Hanging
To get the best out of your game one of the essential stages is hanging. Hanging involves leaving the game in cool conditions before you pluck or skin it. Game is tougher than other meat as it was a wild animal and used its muscles for survival. The process of hanging helps to tenderise the meat and bring out that much loved gamey flavour – the longer you hang it, the stronger your flavour will be.
A Quick Guide to Hanging Times:
- At a minimum you should hang game for two days
- In Winter you should hang for a maximum of three weeks
- Seven days is ideal, as long as the weather isn’t too hot.
The most extensive hanging guide we’ve found is from Hank Shaw. For a fully comprehensive look at hanging read his helpful guide.
Skinning
When you are preparing your game to be eaten you can either skin it or pluck it. We’ve provided you with both options so you can choose which is best suited to the meal you are cooking. Skinning is considered to be the easiest way to prepare a pheasant as it involves far less mess than plucking.
NOTE: The only downside to preparing a bird in this way means that if you want to roast the pheasant you’ll have to coat it in fat or bacon to prevent it from drying out.
Quick tips to Skinning:
- After hanging, separate the feathers along the back of the bird and cut the skin along its length
- Lift and pull the skin off, feathers and all
Plucking
Plucking a bird takes a bit more time but can deliver better results when you cook. We’ve created a simple guide below.
1. Dip your hands in water
2. Begin plucking from the breast, working towards the neck. Make sure you pull the feathers in the direction they grow, so that the skin doesn’t break.
3. Turn the bird around and begin to pluck away from you
4. Cut through the middle wing joint to remove it
5. Stretch out the wing and pluck the feathers
6. Pull out the legs and tail feathers
7. You’ll be left with small, pin feathers. These are best removed with tweezers.
NOTE: If the feathers are too hard to remove you can put the bird in boiling water for 30 seconds. If you do this you must then cook the bird immediately.
Drawing
Drawing a bird is the process of removing the innards. This is an important part of the preparation stage as you want to remove the intestinal sack intact. If this is done incorrectly you could spoil your meat.
Removing the Neck & head
1. If the bird has been plucked place the bird on its back and cut along the skin of the neck to the point where it joins the body.
2. Leaving plenty of skin to cover the neck, cut through the neck of the bird, removing it and the head.
3. To strip out the gullet, crop and windpipe insert a finger around each of the organs to loosen them. Gently rotate them to break all attachments and free the organs, particularly the lungs.
Removing the Innards
1. With a sharp knife cut through the anus of the bird until it comes loose.
2. Insert your fingers into the body cavity and draw out the innards.
3. Wash and dry the body cavity and salt it
Note: The liver, minus the gall bladder, can be eaten.
BONUS: Quick Field Dressing Video
If you’re short on time we think that Bobby Plude’s video is the best example of how to quickly dress a pheasant.
Once you’ve completed all of these steps you are ready to cook your kill. Take a look at our Game and Fish recipes post to find yourself a delicious recipe for all your hard work.